
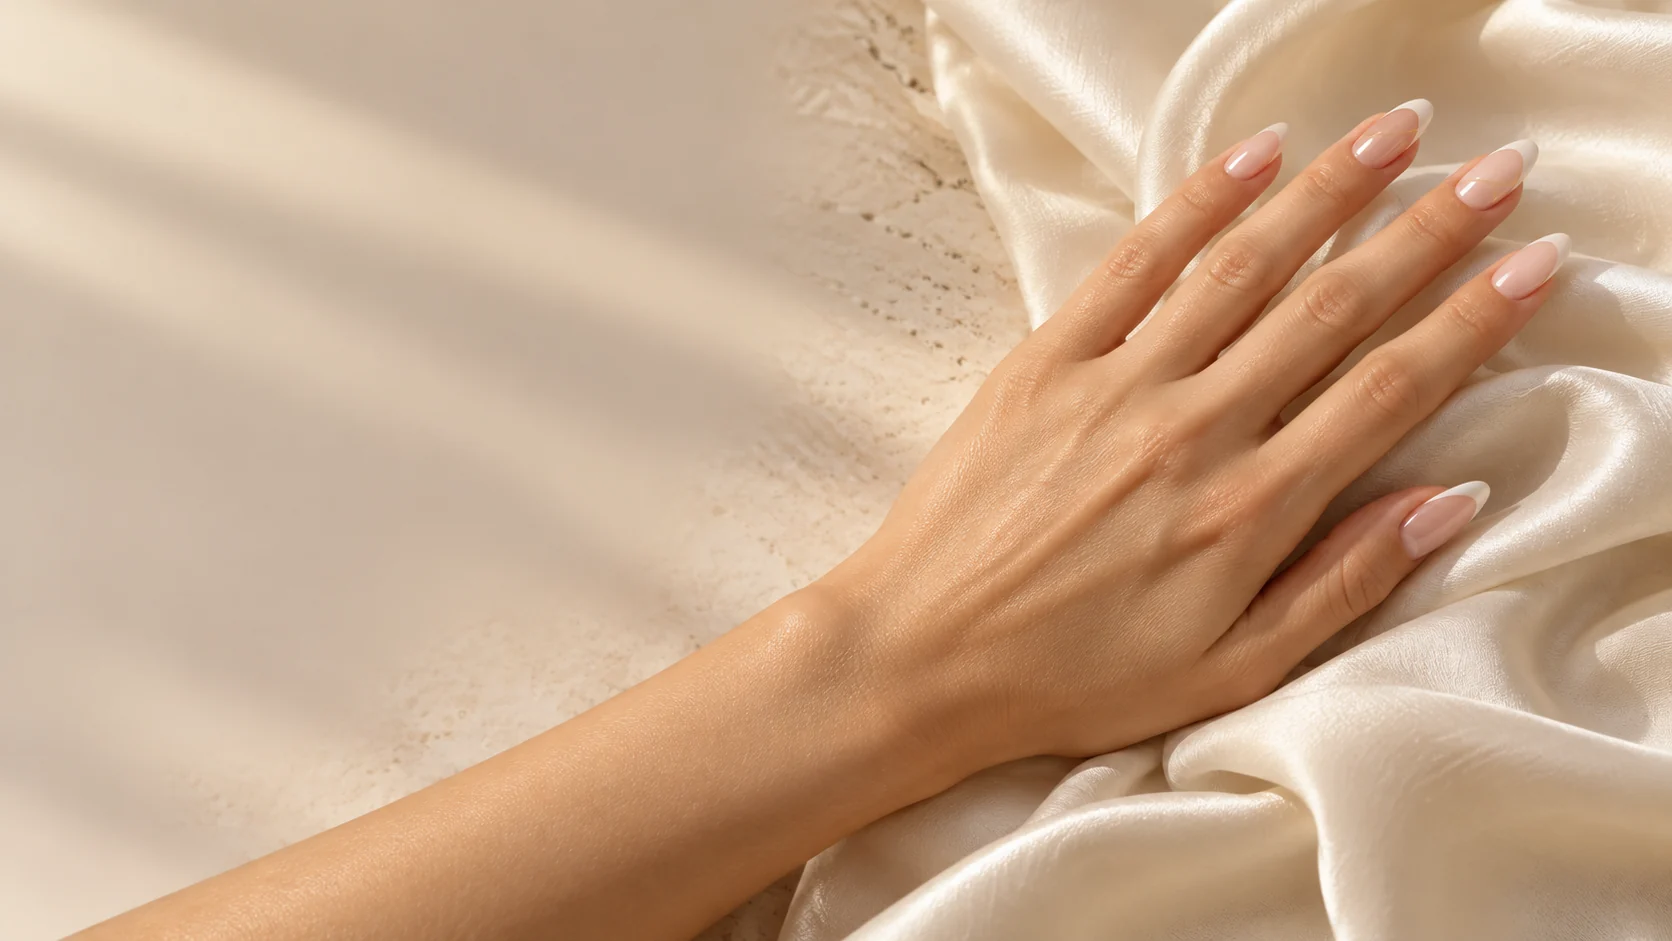
A micro French design uses a narrow tip line to keep more of the base visible. On a short nail, that small proportion can make the result feel deliberate without requiring a lot of artwork. The important detail is how the line relates to the actual nail length and shape.
Five design directions to discuss
| Direction | Base | Tip idea |
|---|---|---|
| Soft classic | Sheer pink or a natural-looking neutral | A fine white line |
| Quiet contrast | A translucent base | A narrow dark tip |
| Pastel detail | A soft neutral | One pale color at the edge |
| A coordinated palette | A consistent base on all nails | Related tip colors rather than unrelated shades |
| A small accent | A simple base and fine tips | One restrained decorative detail |
Use these design briefs to compare the current colors and options with your technician. Ask the salon which version can be created on your nails and what the art would cost.
Keep the line in proportion
A tip that looks narrow in a close-up can appear much deeper on a shorter nail. Show the technician which part of the reference matters: the thinness of the line, the color contrast or the overall shape. A shorter version may need a different curve to retain the same impression.
Choose a base intentionally
A sheer base allows more of the natural nail to show; a more opaque base creates a more uniform background. Neither is automatically the right choice for every hand. Compare the available swatches and explain the amount of coverage you want.
Confirm the appointment behind the design
A micro French look might be discussed with different base services, so do not book by the design name alone. Review the manicure menu or the appropriate enhancement menu if you want added length. Ask whether the chosen French detail is an add-on and how removal is handled.
For a broader design comparison, see French versus ombré. If you are undecided about the outline, read square versus squoval. A small, clear reference and a conversation about proportions are the best preparation for this restrained style.
Three color pairings for a short set
| Base and tip | Overall direction | Detail to keep consistent |
|---|---|---|
| Sheer pink with warm white | A quiet classic | Keep the tip fine and let the base remain the larger area. |
| Soft beige with espresso | A defined, darker edge | Use the dark color as a narrow outline rather than a deep block. |
| Muted rose with cranberry | A small seasonal accent | Repeat the same two shades across the set. |
These are design palettes, so compare them with the colors actually available. If the contrast is stronger than you want, soften one element first: a less opaque tip, a lower-contrast shade or a quieter base. Adding more artwork is not the only way to change the look.
Look at the full hand before fixing the tip width
A pinky and a thumb have different widths. An identical tip measurement can look heavier on the smaller nail, so the useful goal is a balanced appearance across the hand. Ask to discuss the curve and depth on your chosen shape instead of asking for a fixed measurement copied from a close-up.
For a short rounded or squoval set, one simple brief is: “Keep my current length, use a soft pink base and make the white edge as fine as the shape allows.” If you want a more uniform-looking base, mention that separately. The coverage and finish guide explains why a sheer and an opaque background produce different results.
Published by Luxury Nail & Spa. Updated .