
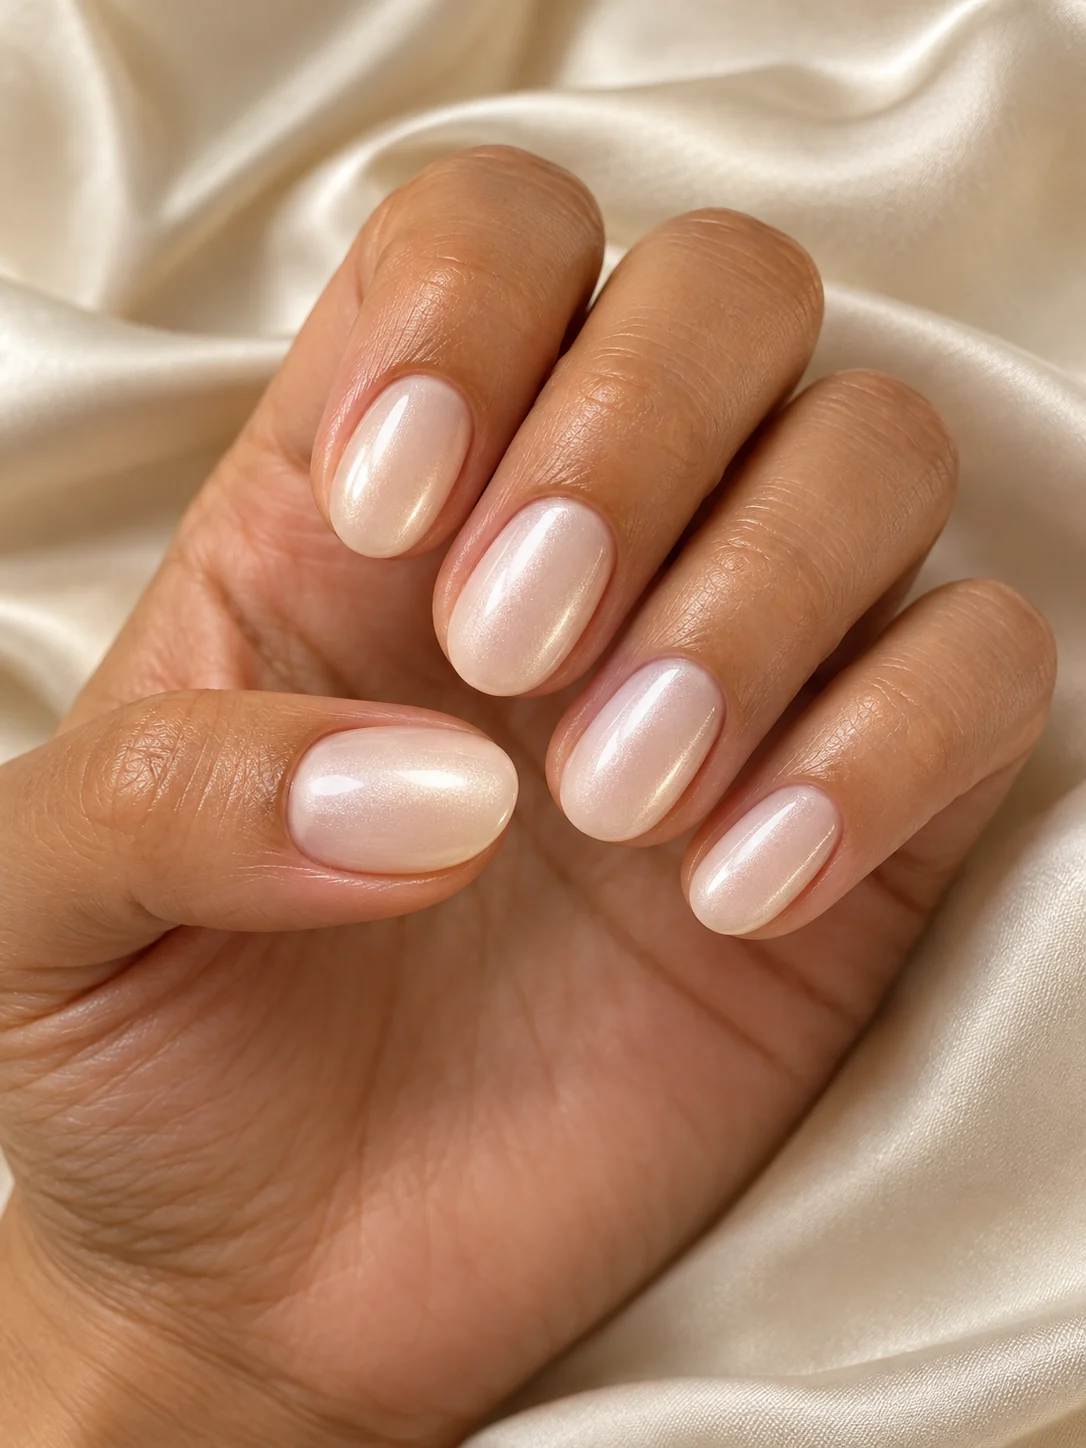
Milky white nails can describe several different looks: a translucent wash, a more opaque creamy white or a pearly finish over a light base. Before choosing a service, decide how much of the natural nail you want to show and whether the surface should look plain or reflective.
Compare three finish directions
| Direction | Visual goal | What to ask |
|---|---|---|
| Sheer milky | A soft veil with some nail detail visible | How translucent is the selected shade? |
| Creamy opaque | A more even, solid-looking white | What level of coverage does the product give? |
| Pearly | A light base with reflected sheen | Is the effect part of the color or an added finish? |
Do not rely on a shade name alone
Words such as milk, pearl, ivory and white are used differently across product ranges. A swatch is more useful than assuming two similarly named shades will look identical. Ask to compare the available choices beside your hand and explain whether you prefer a warmer or cooler-looking result.
Consider shape and contrast
A light creamy color on a short squoval nail creates a different impression from a sheer pearly finish on a long almond nail. If the reference appeals because of its softness, adding length or a more opaque color may change that balance. Decide which feature matters most before combining several changes.
Keep extra detail purposeful
A small metallic accent or a fine French line can complement a milky base, but the base itself may be the whole design. If you add art, agree on which nails receive it and how prominent it should be. A simpler plan can make the selected shade easier to appreciate.
Browse the gallery and compare the manicure, SNS or acrylic menu according to your desired length and system. Confirm the exact shade and product availability with the salon. For another restrained option, see neutral nails for everyday wear.
Separate coverage from shine when choosing a swatch
A nail can be glossy and translucent, or glossy and fully covering. Pearly reflection adds another decision. Ask to compare those qualities separately so “milky” does not become shorthand for several different expectations.
- Check what shows through. Decide whether you like seeing the natural nail and its free edge through the color, or whether you want a more uniform-looking white.
- Compare the tone beside your hand. A warmer ivory and a cooler white can feel quite different against the same skin, clothing or jewelry. Choose the relationship you prefer rather than relying on the bottle name.
- Move the swatch. Look at whether the shine is a plain glossy reflection or a colored, pearly sheen. That distinction can be hard to judge in a single photograph.
Three clear ways to describe the result
Soft and translucent: “I want a light white veil with some of my natural nail still visible.” Creamy and even: “I want a more covering white, with a plain glossy surface.” Pearly: “I like a light base with a visible sheen when my hand moves.”
Start with one of those briefs, then add your preferred length and shape. If you combine a pale base with a tip line, the French versus ombre comparison can help you decide whether the edge should stay defined or blend into the rest of the nail.
Published by Luxury Nail & Spa. Updated .